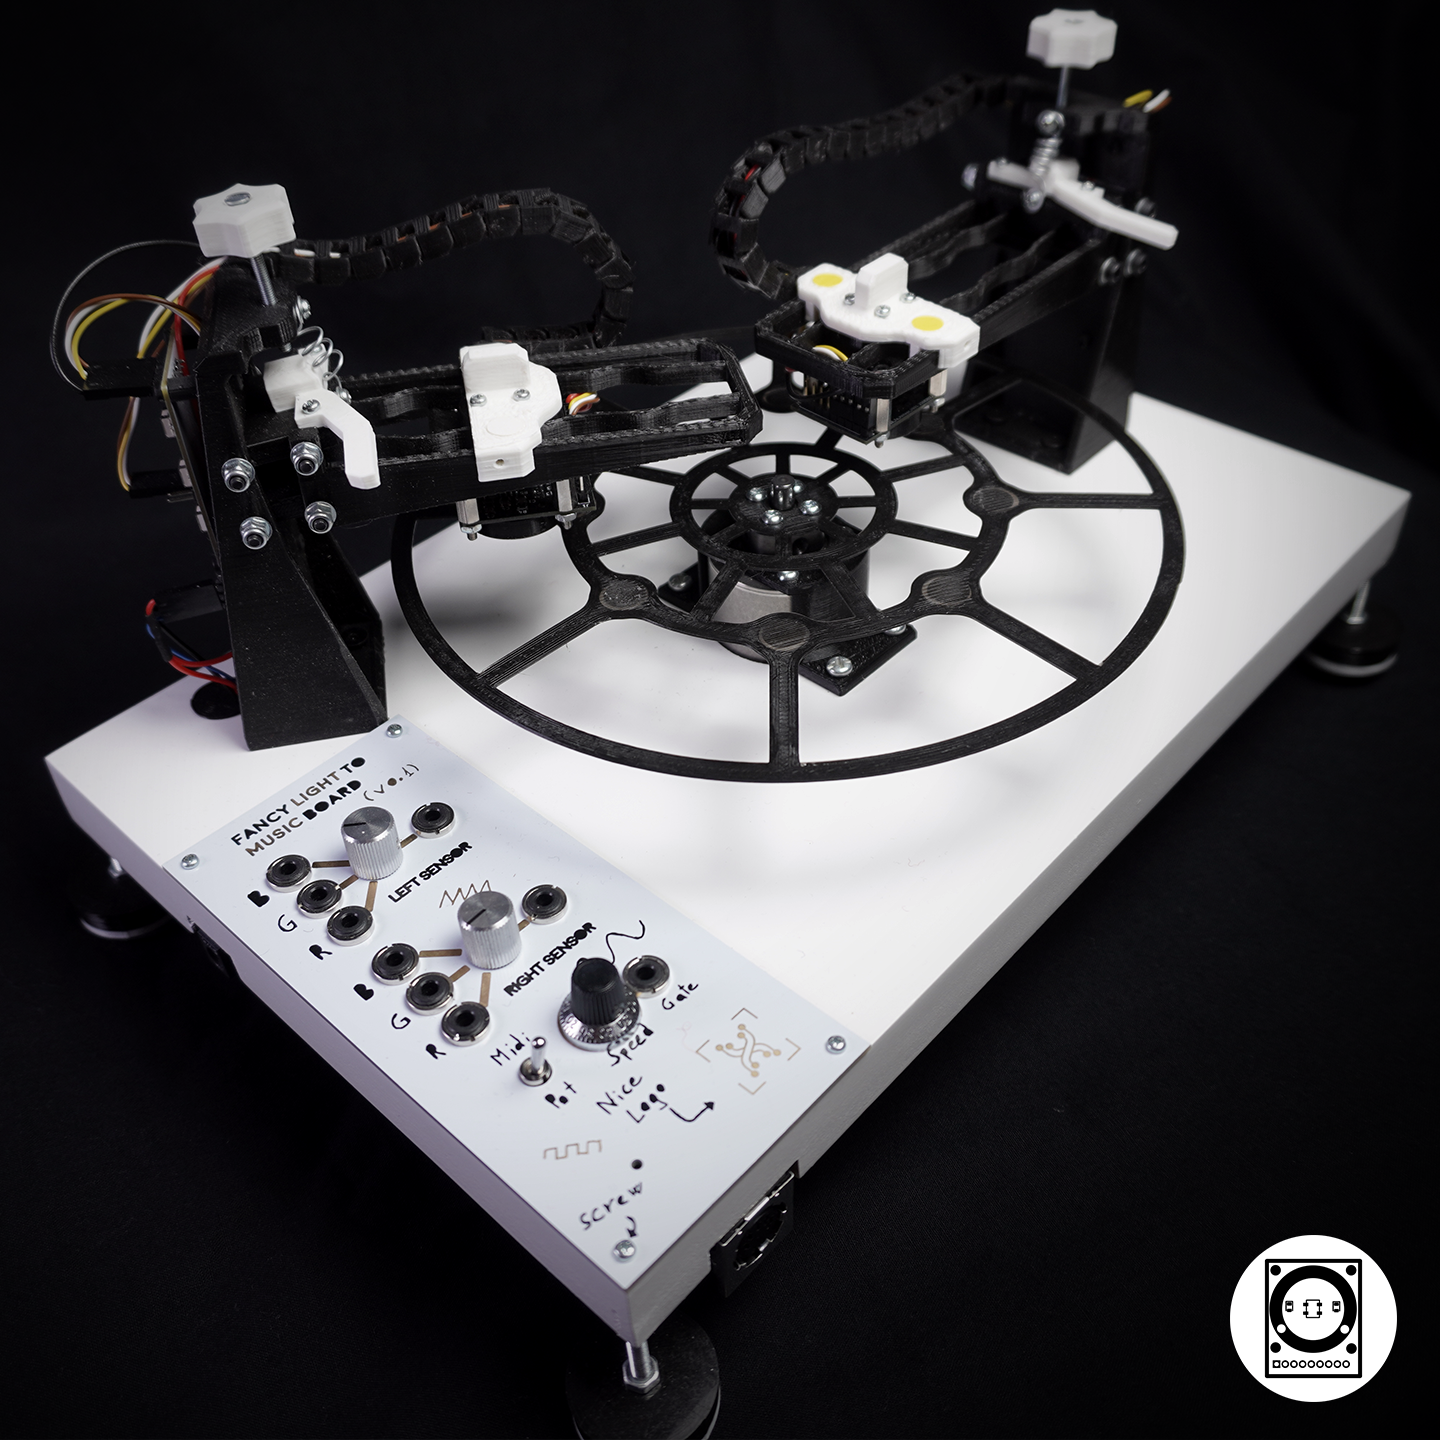
RGB to sound synthesizer

The RGB to sound synthesizer or “Fancy Light To Music” is a unique synthesizer that turns RGB light information into three different audio signals, one for each color channel. By making RGB discs rotate on a specific frequency controlled by MIDI, it is possible to output three oscillators with only one disc.
The main idea came after hearing about the Motor Synth by GameChanger Audio. They use a “black and white” disc and infrared light to create oscillators. Their idea is awesome but I wanted to push it to the limit by using the visible light spectrum and so Red Green and Blue light.
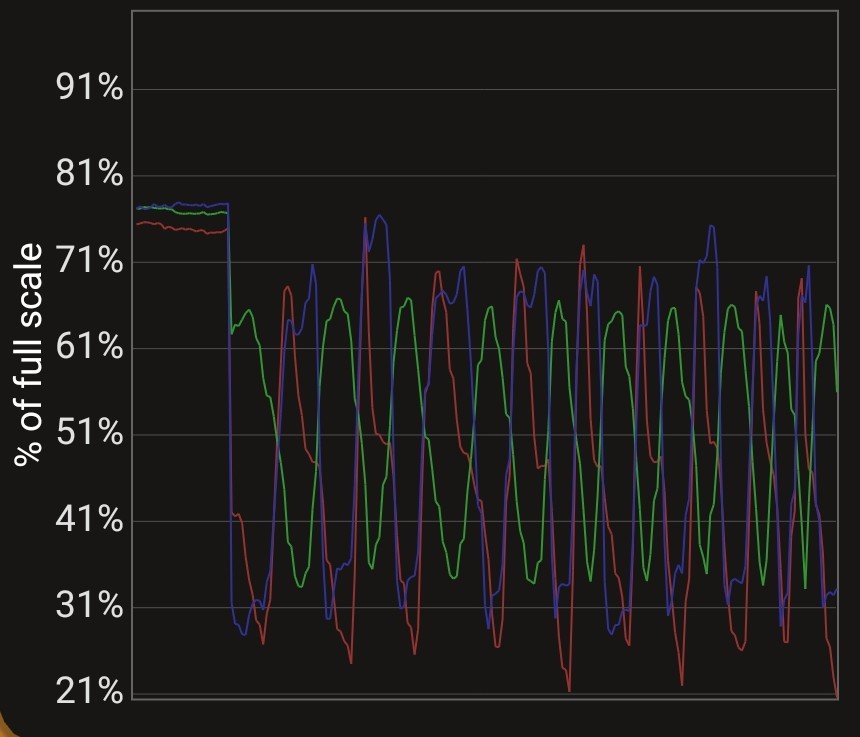
By mixing RGB patterns, it would be possible to “encode” 3 different waveforms in only one pattern, for example, sawtooth in the Red channel, square in the Blue channel, and Sinus in the Green channel.
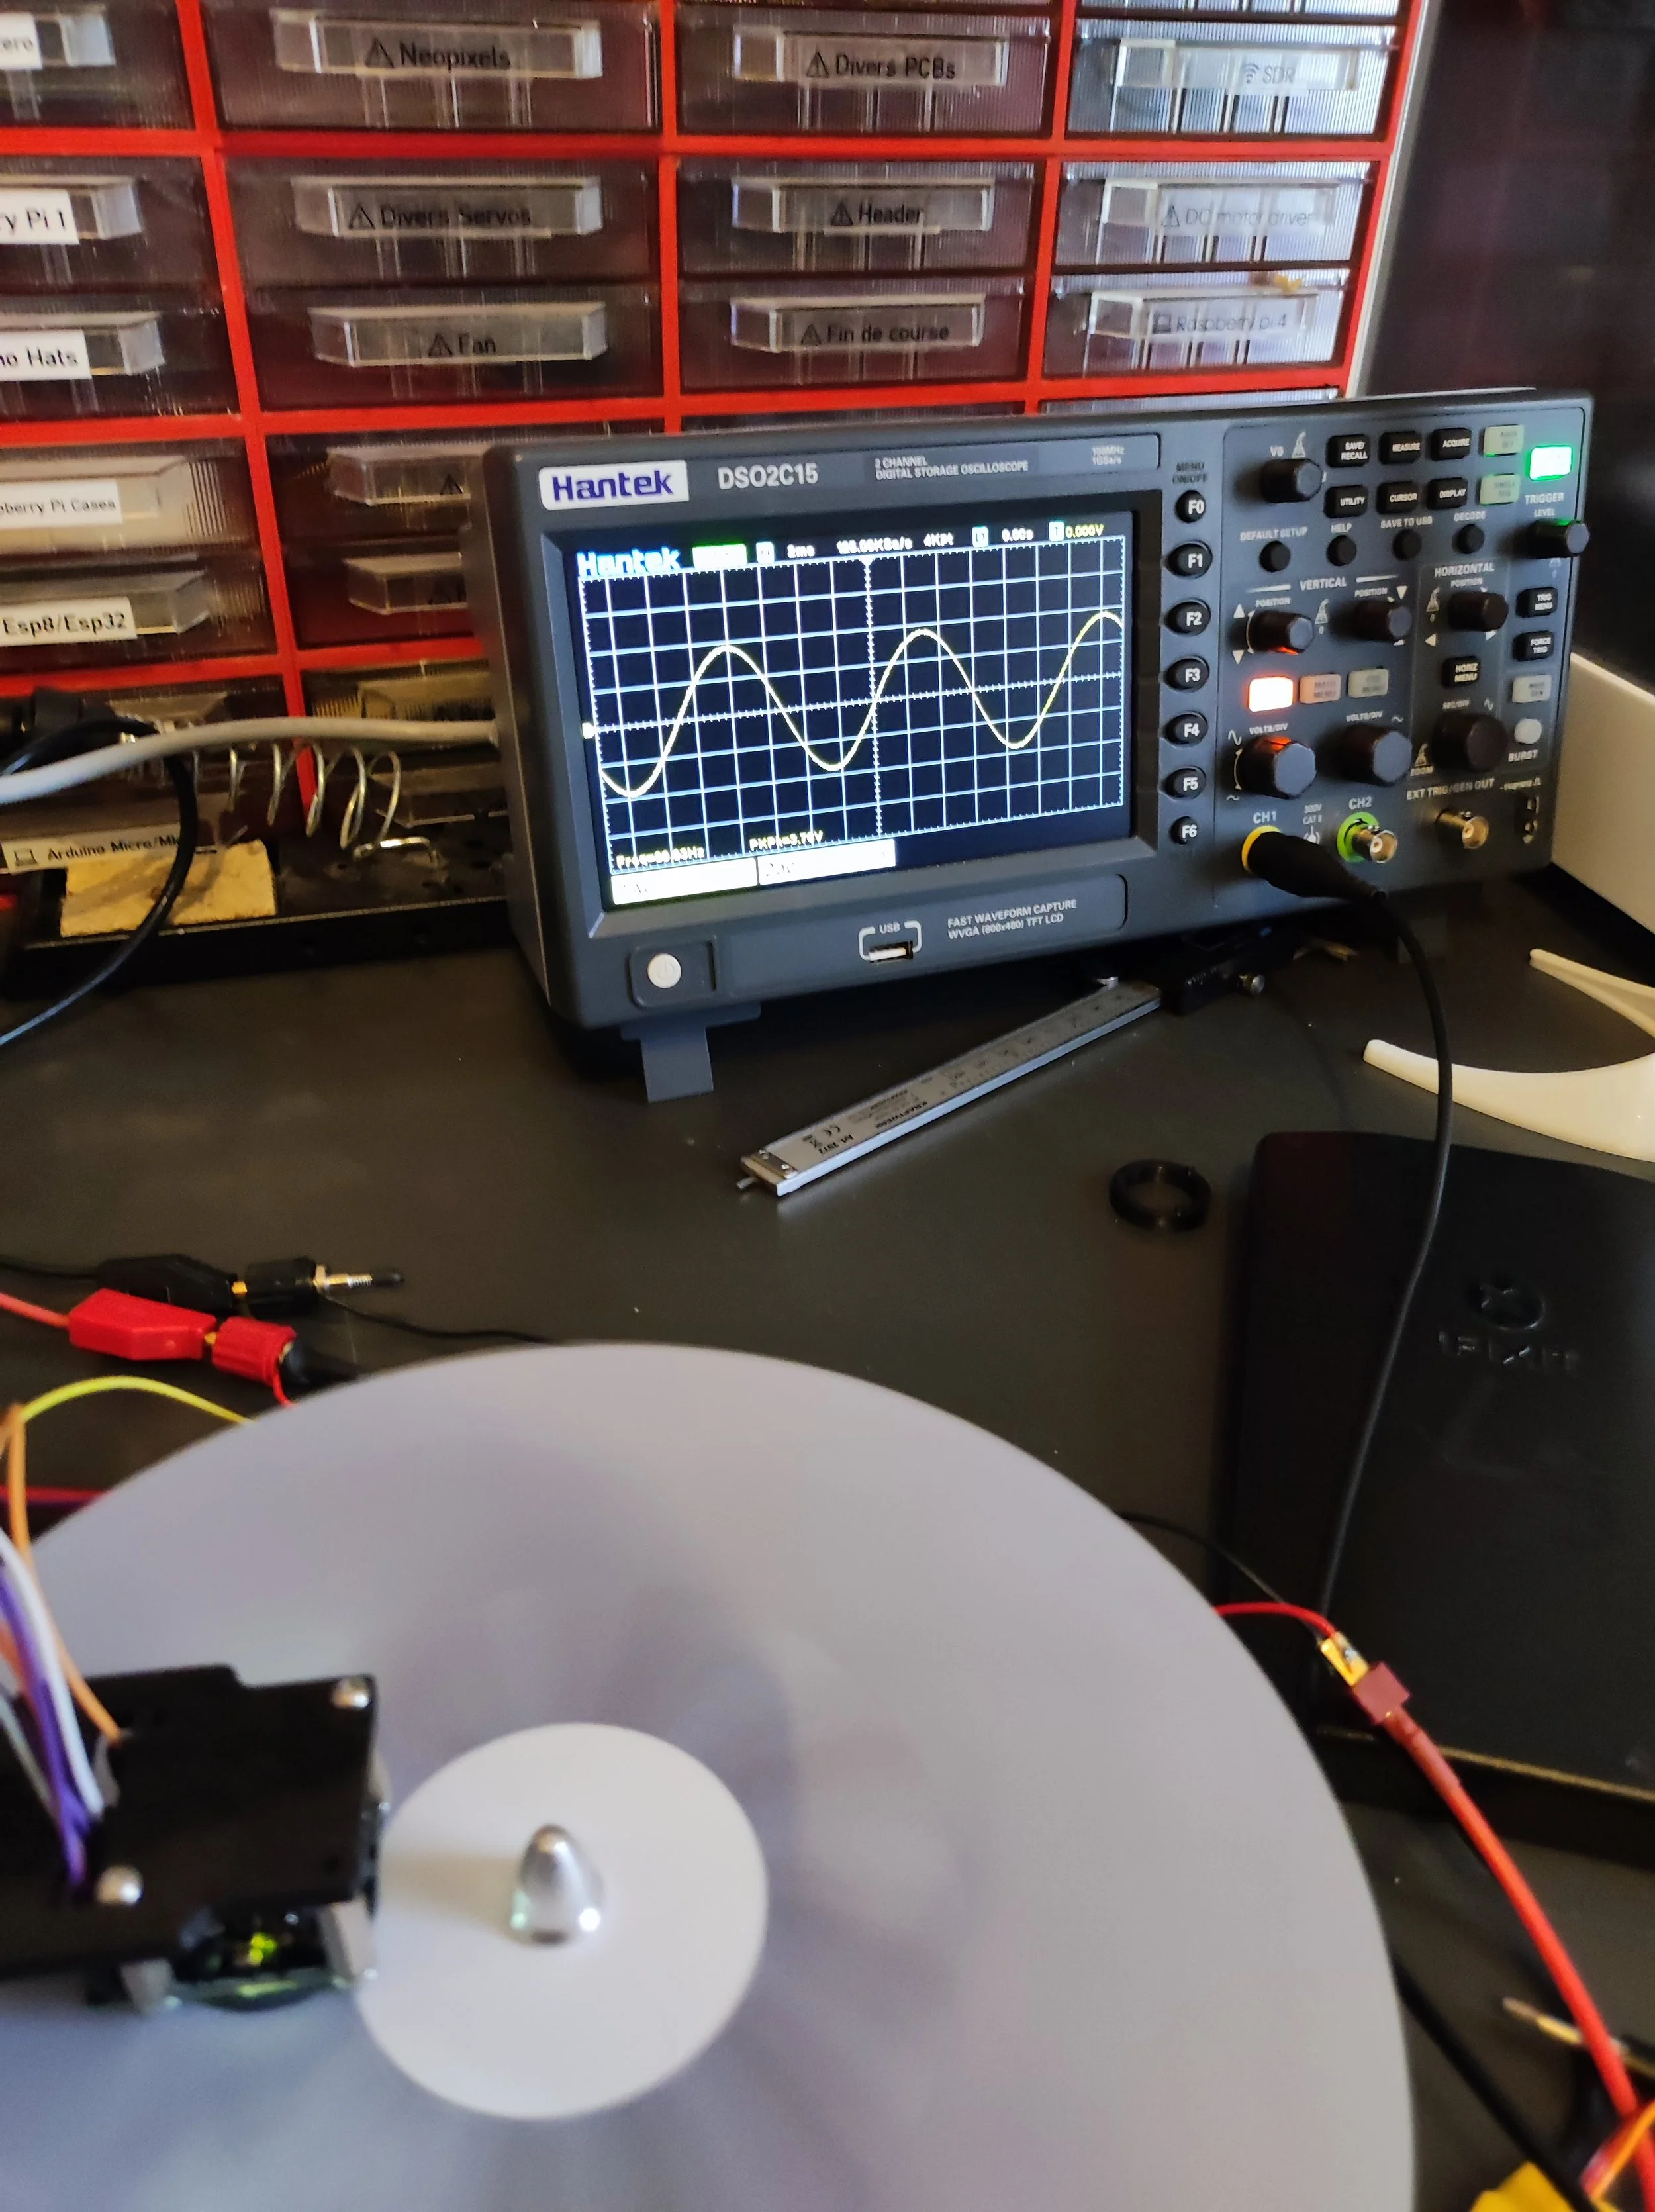
I was not sure if my concept would work so I created a first RGB disc with 3 signals encoded as described earlier. I found an app on the Play Store that outputs RGB graphs based on your phone camera. By turning my phone over the disc, I could extract the three different signals encoded in my RGB disc. This result was encouraging enough to make me start the project.
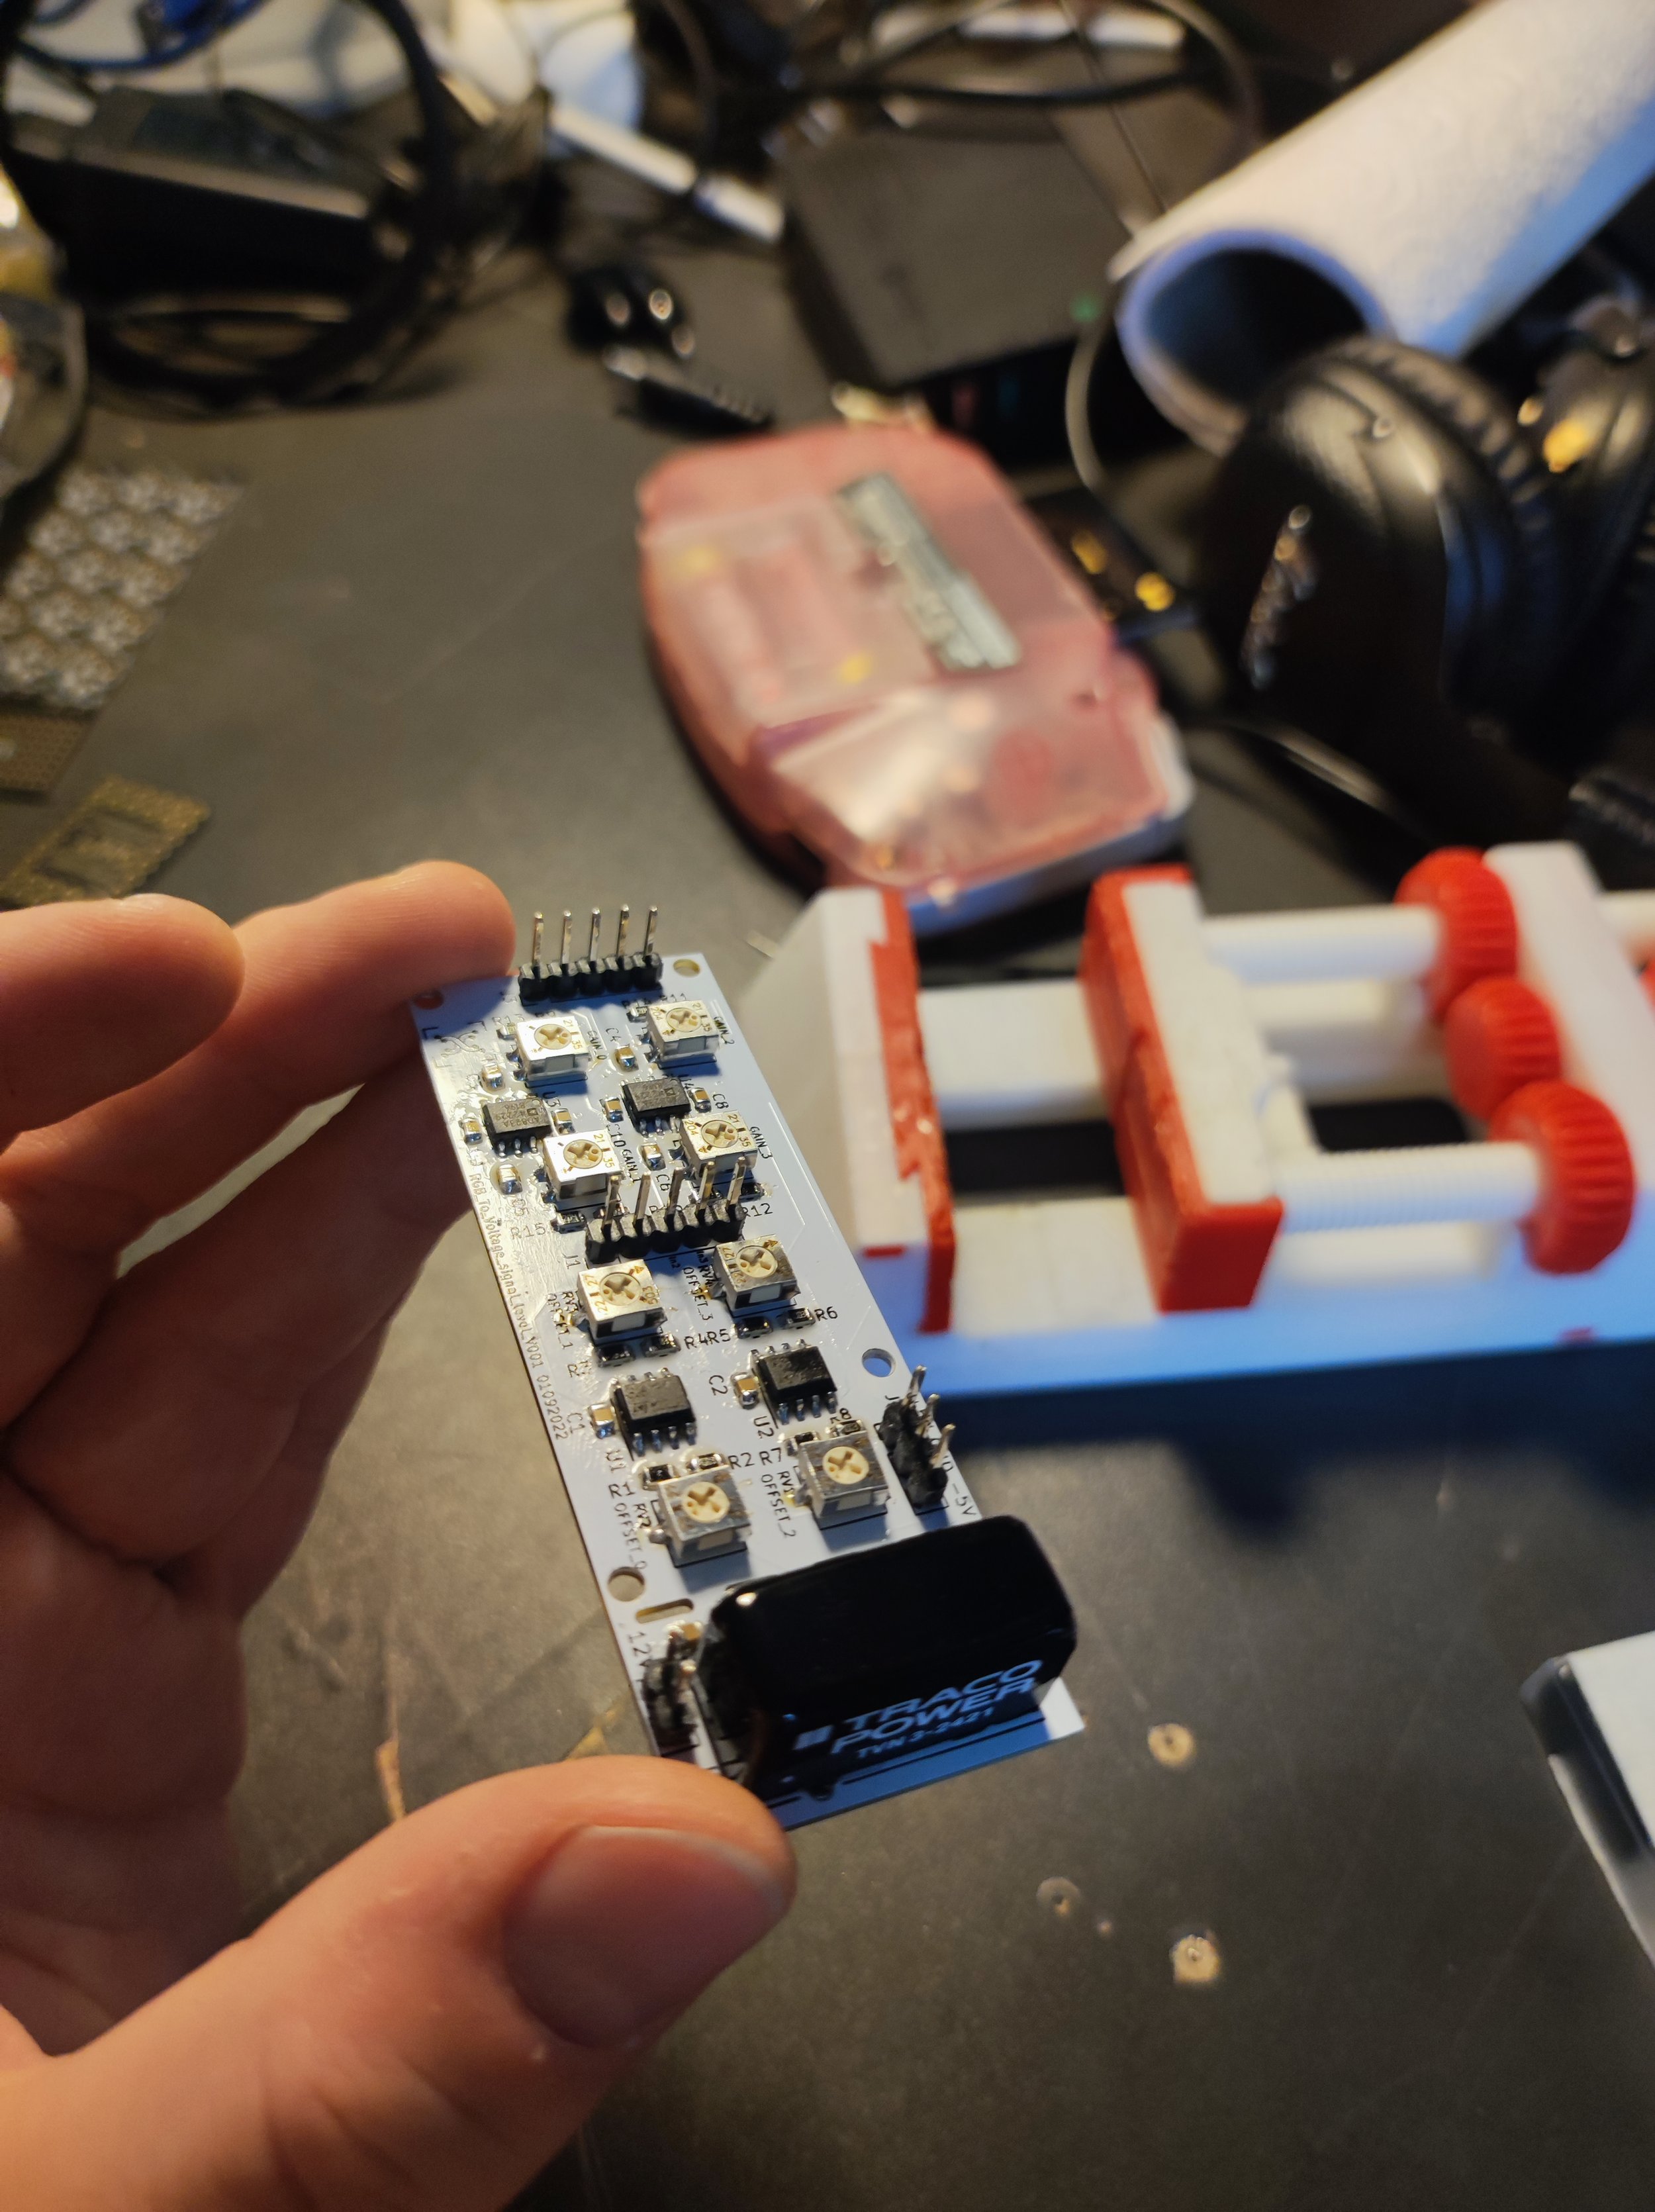
I started by making two PCBs:
The sensor PCB is a simple RGB photodiode with fixed gain
The level adapter PCB with adjustable offset and gain for each signal to output signal close to -5V 5V signal
I assembled the PCBs, printed a new color disc and put it on a stepper motor to make it turn at a fixed speed, and started my first tests.
It’s important to note that the whole Light to Audio electronic is full analog!
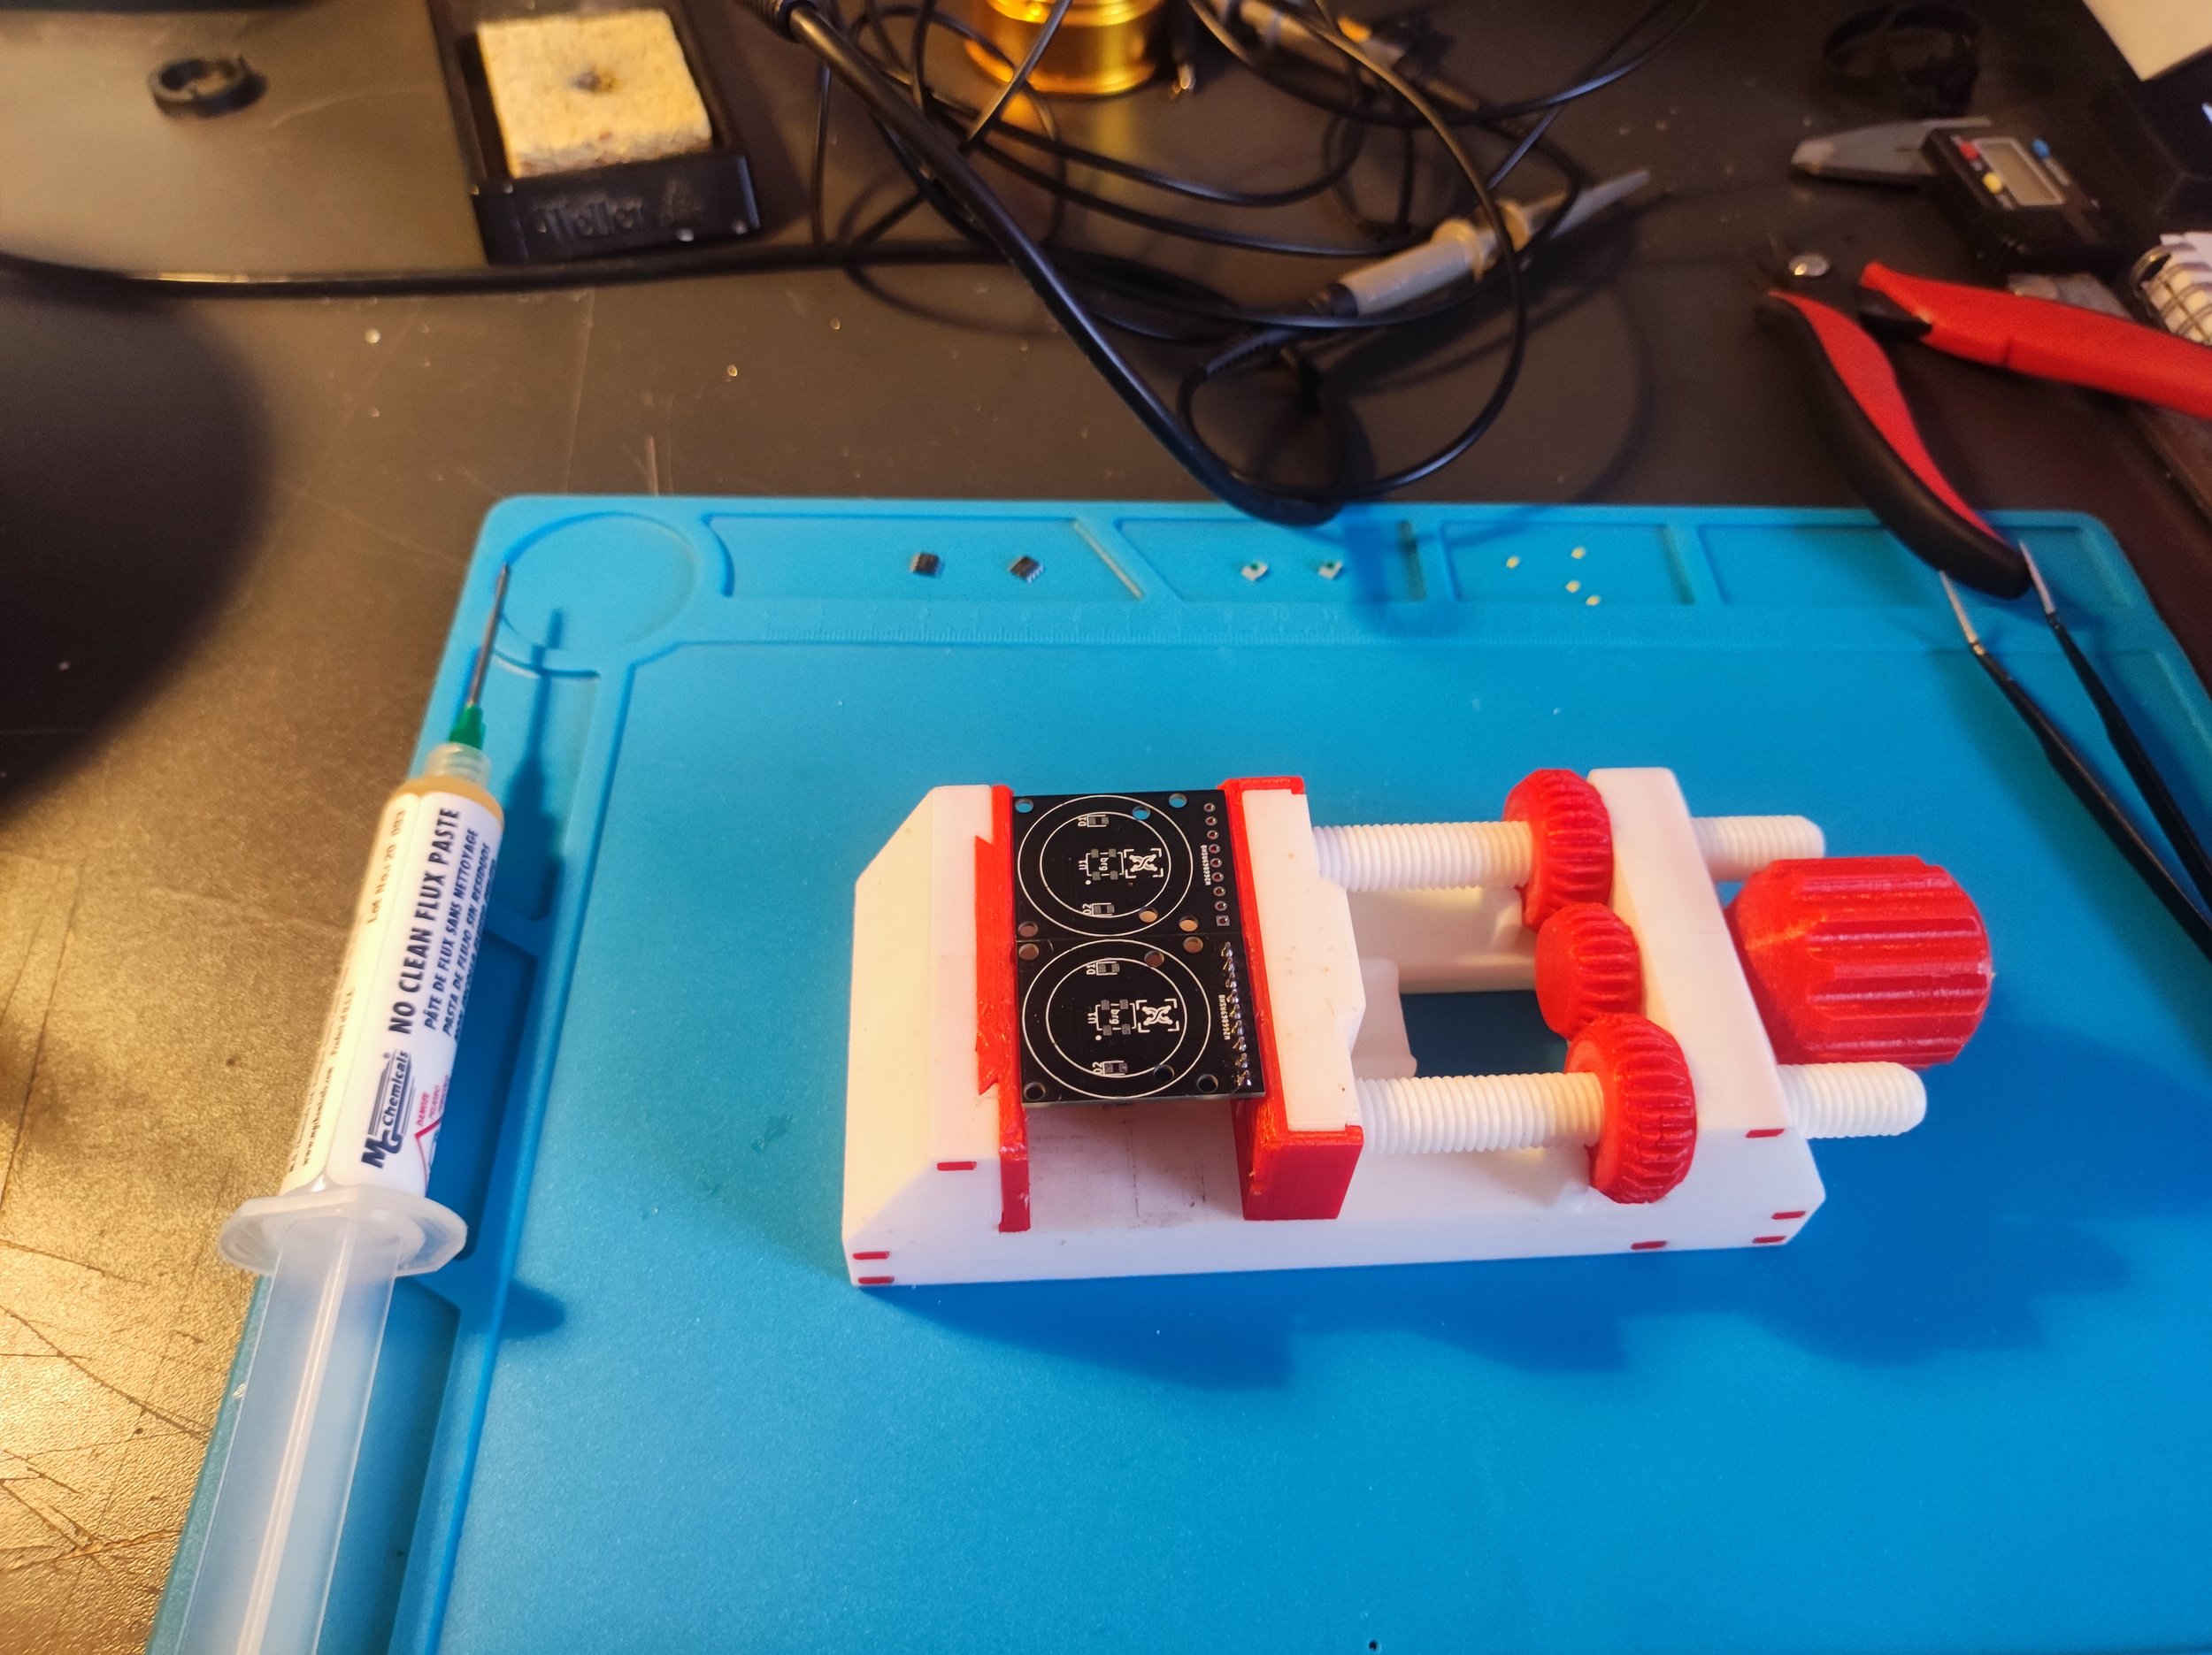
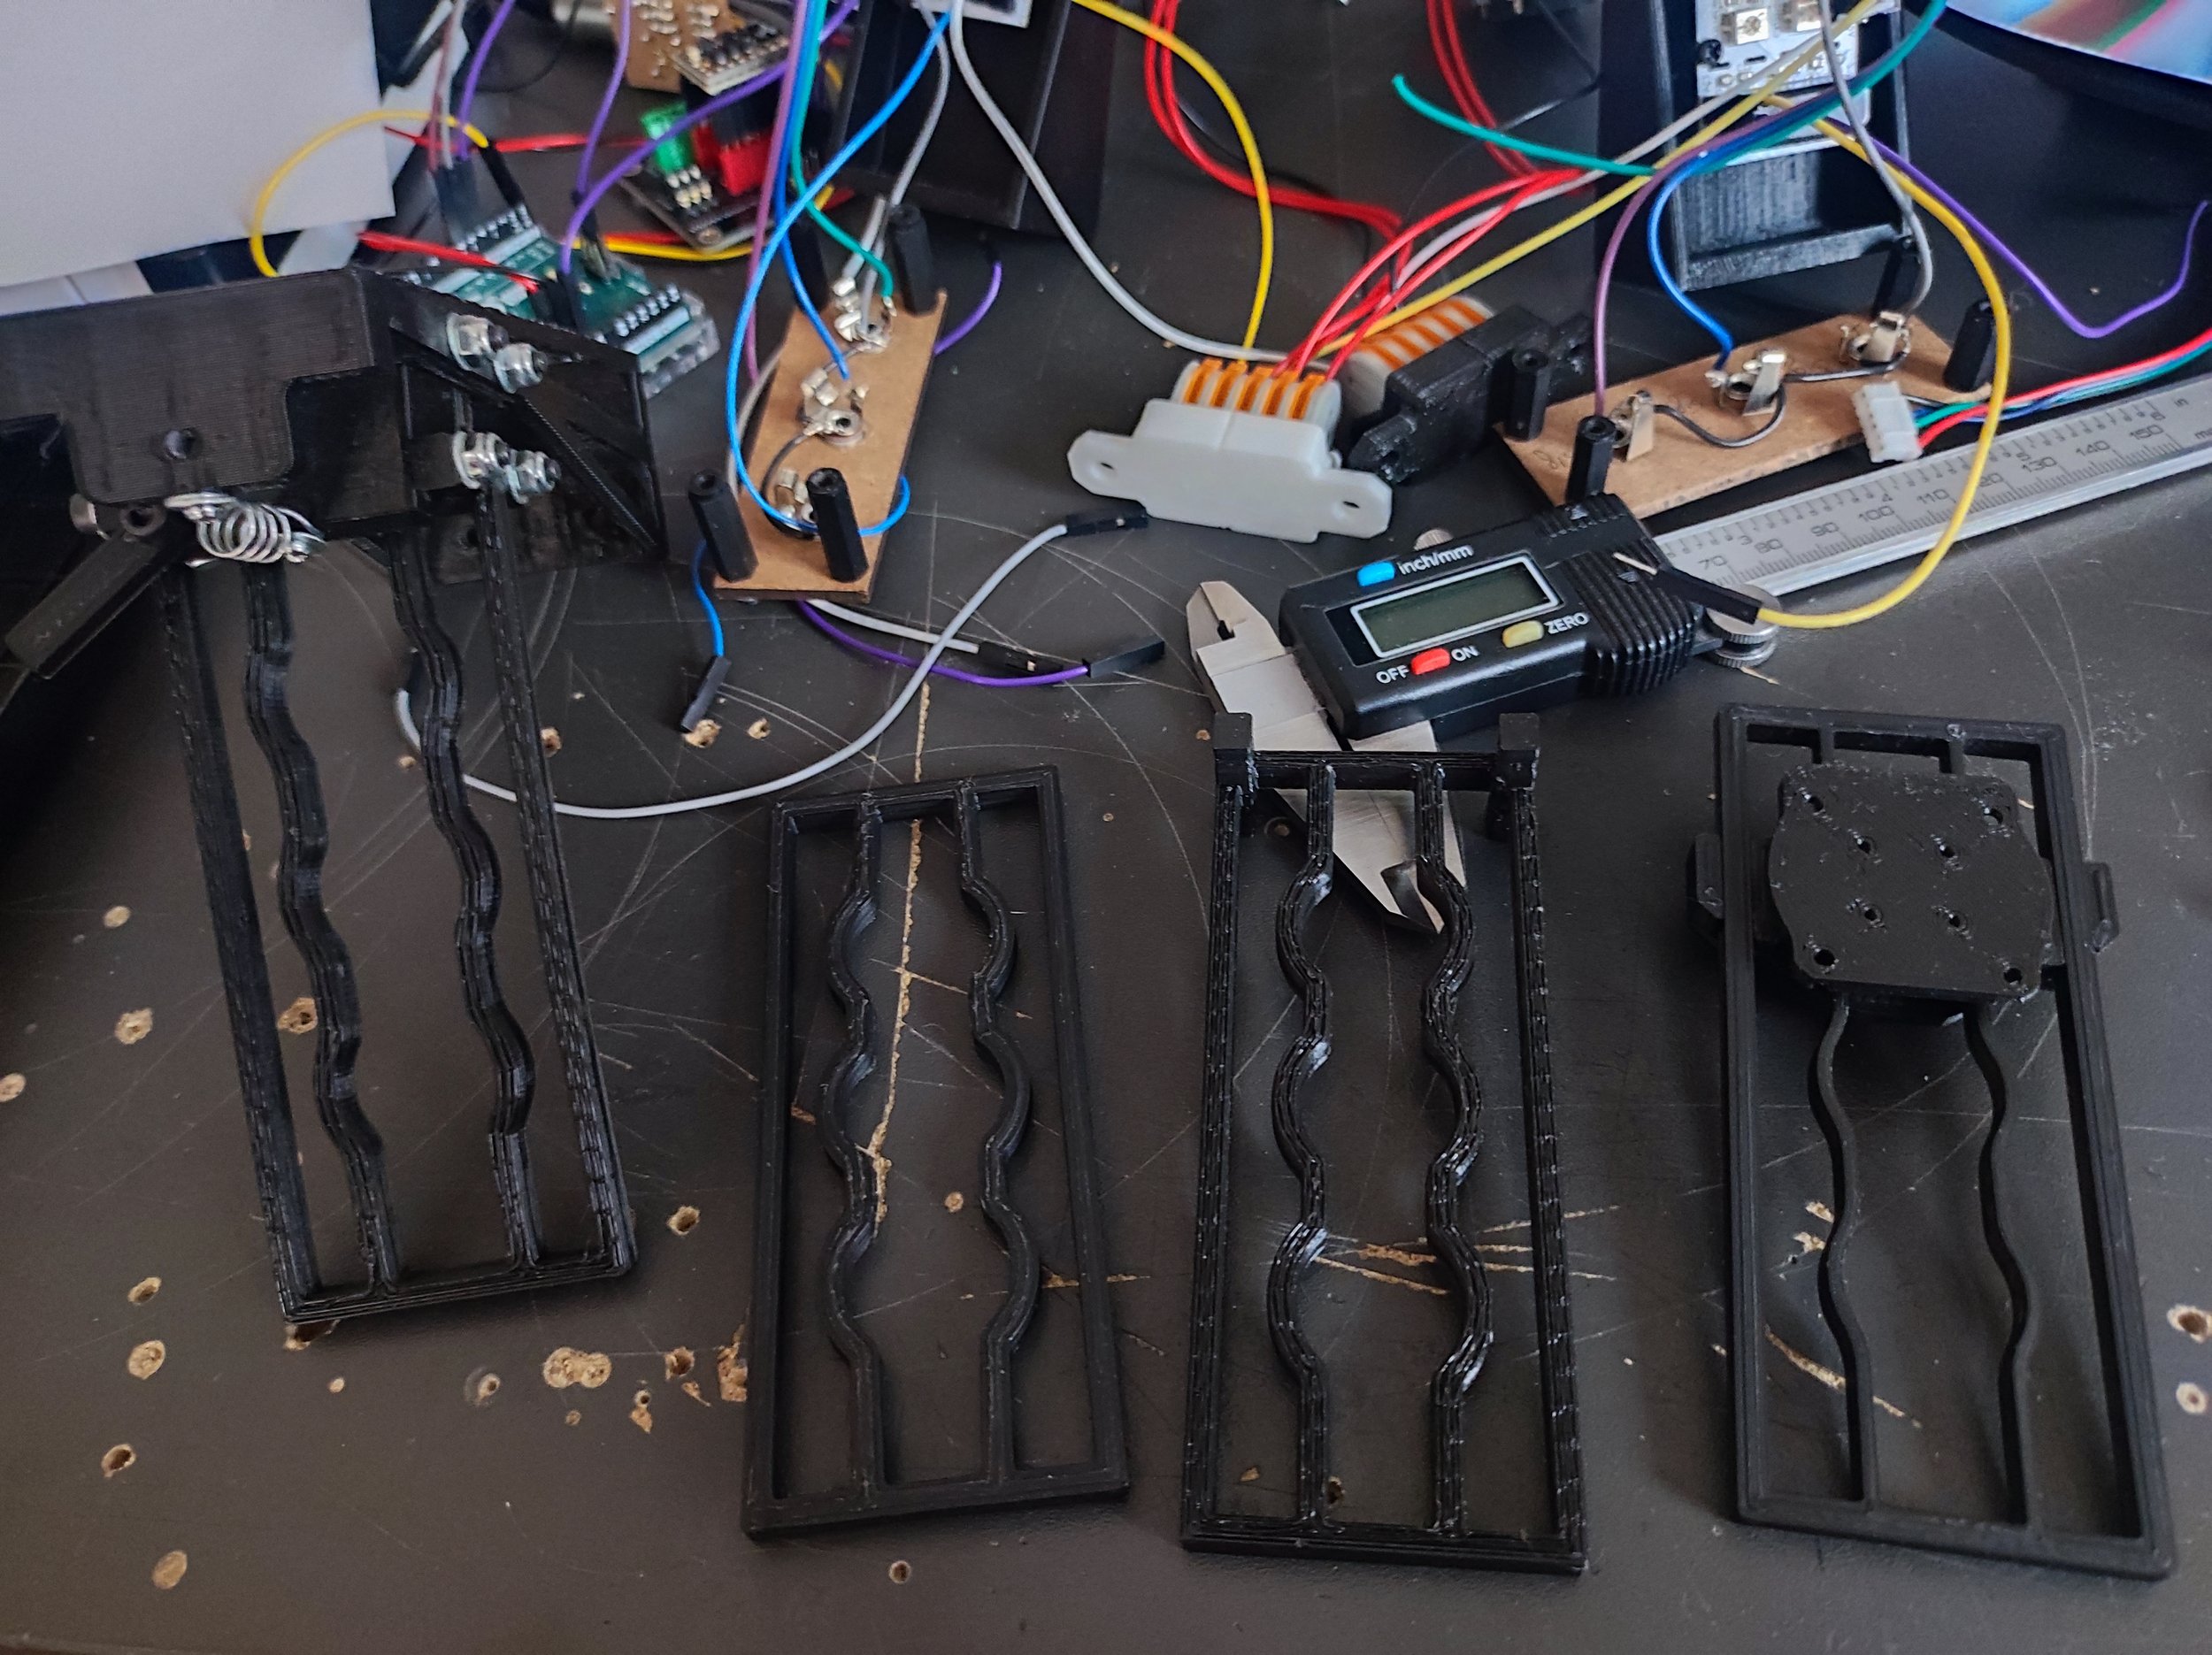
After 3d printing a few pieces to fix my PCBs over the RGB discs, I was ready to do some tests. I wired first a stepper motor and already had good results! The stepper motor is easy to control and drives to a correct and precise speed which was good to control it with MIDI. Sadly the speed of stepper motors is really limited, this is why I quickly changed to a brushless motor.
I chose to use a powerful maxon BLDC motor with drivers made by ST Electronic: the SL-KIT-ROBOT-1. The motor might seem overpowered but it handles easily quick speed change and is really stable in low speed and high speed giving a high note range!
While working with this motor, I contacted GameChanger Audio, a company that created the famous Motor Synth to talk about my project and see if it could be possible to have contact with one of their engineer to share knowledge.
I had contact with Valters Celmiņš who worked on the motor driver of the Motor Synth. He really made a wonderful piece of engineering on the motor driver he created. He helped me a lot to understand how to make my own synth work, how to reduce noise by tuning the modulation frequency, and how to be more reactive by touching the PID of the ST motor driver. With all his precious advice, my own RGB to sound “Motor Synth” is way more stable!

To control the motor driver, I put an Arduino Nano Every. I also added MIDI connection through an optocoupler and I had the first prototype with speed controlled by MIDI signal.
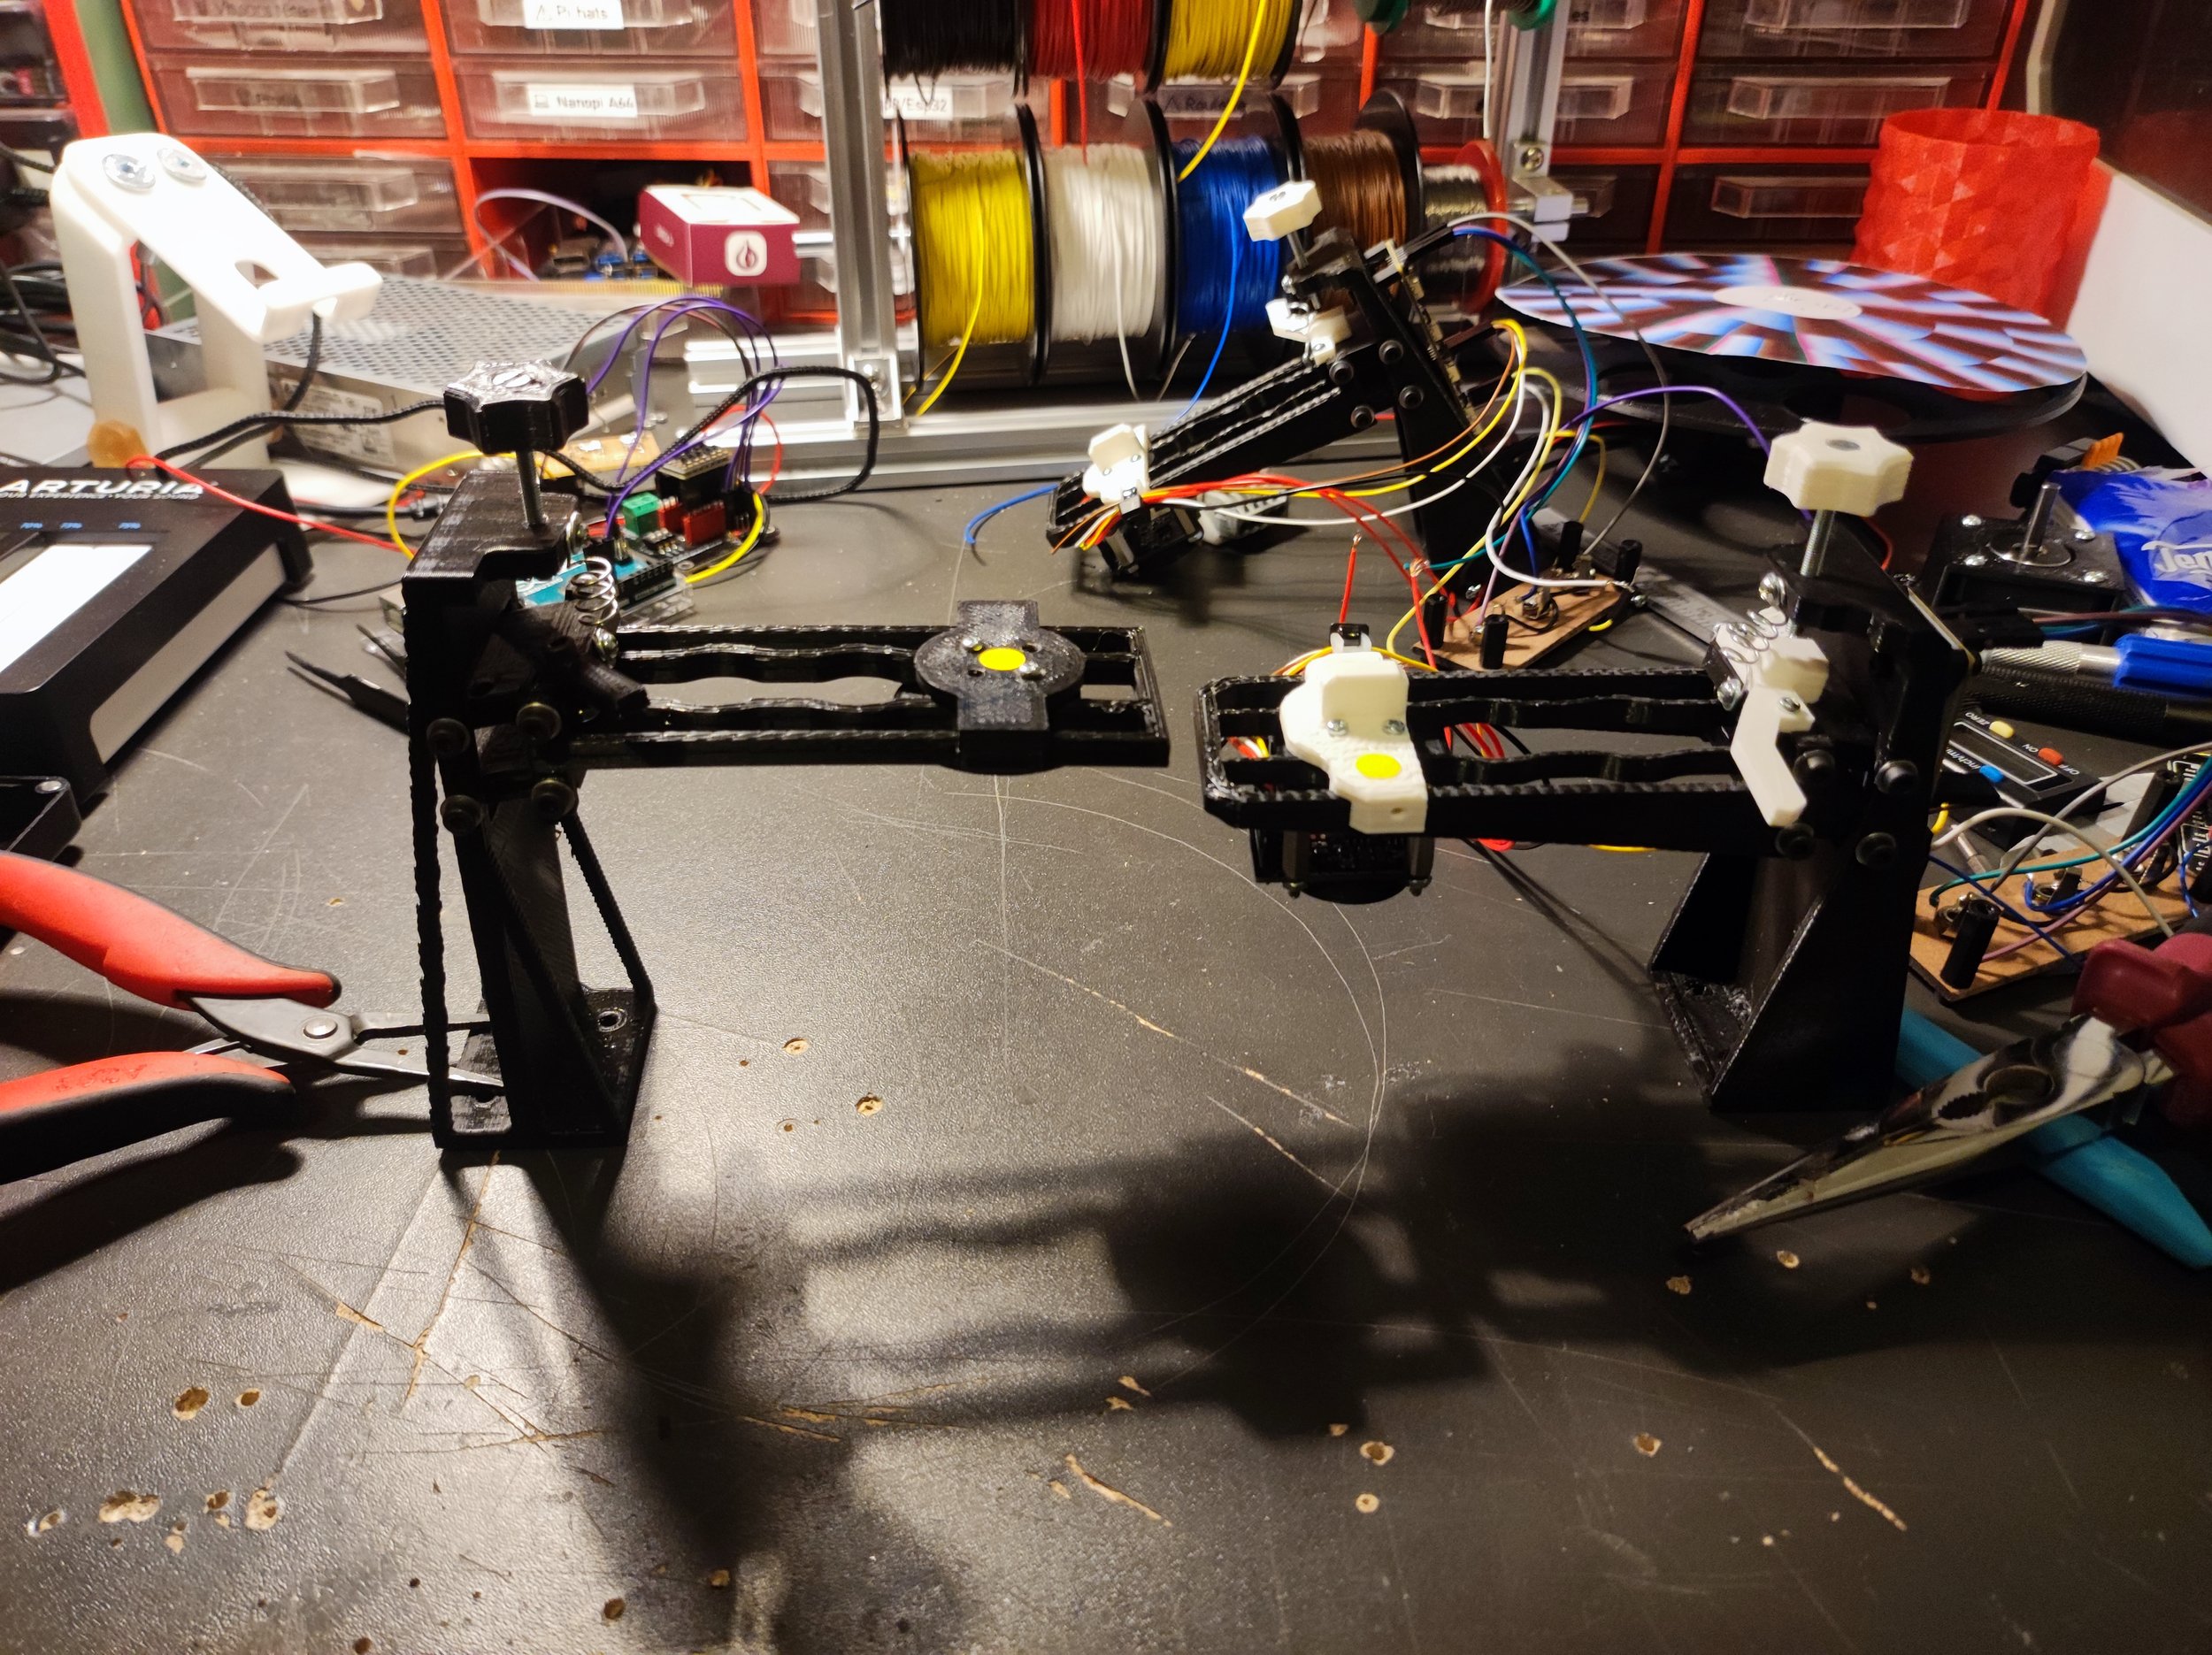
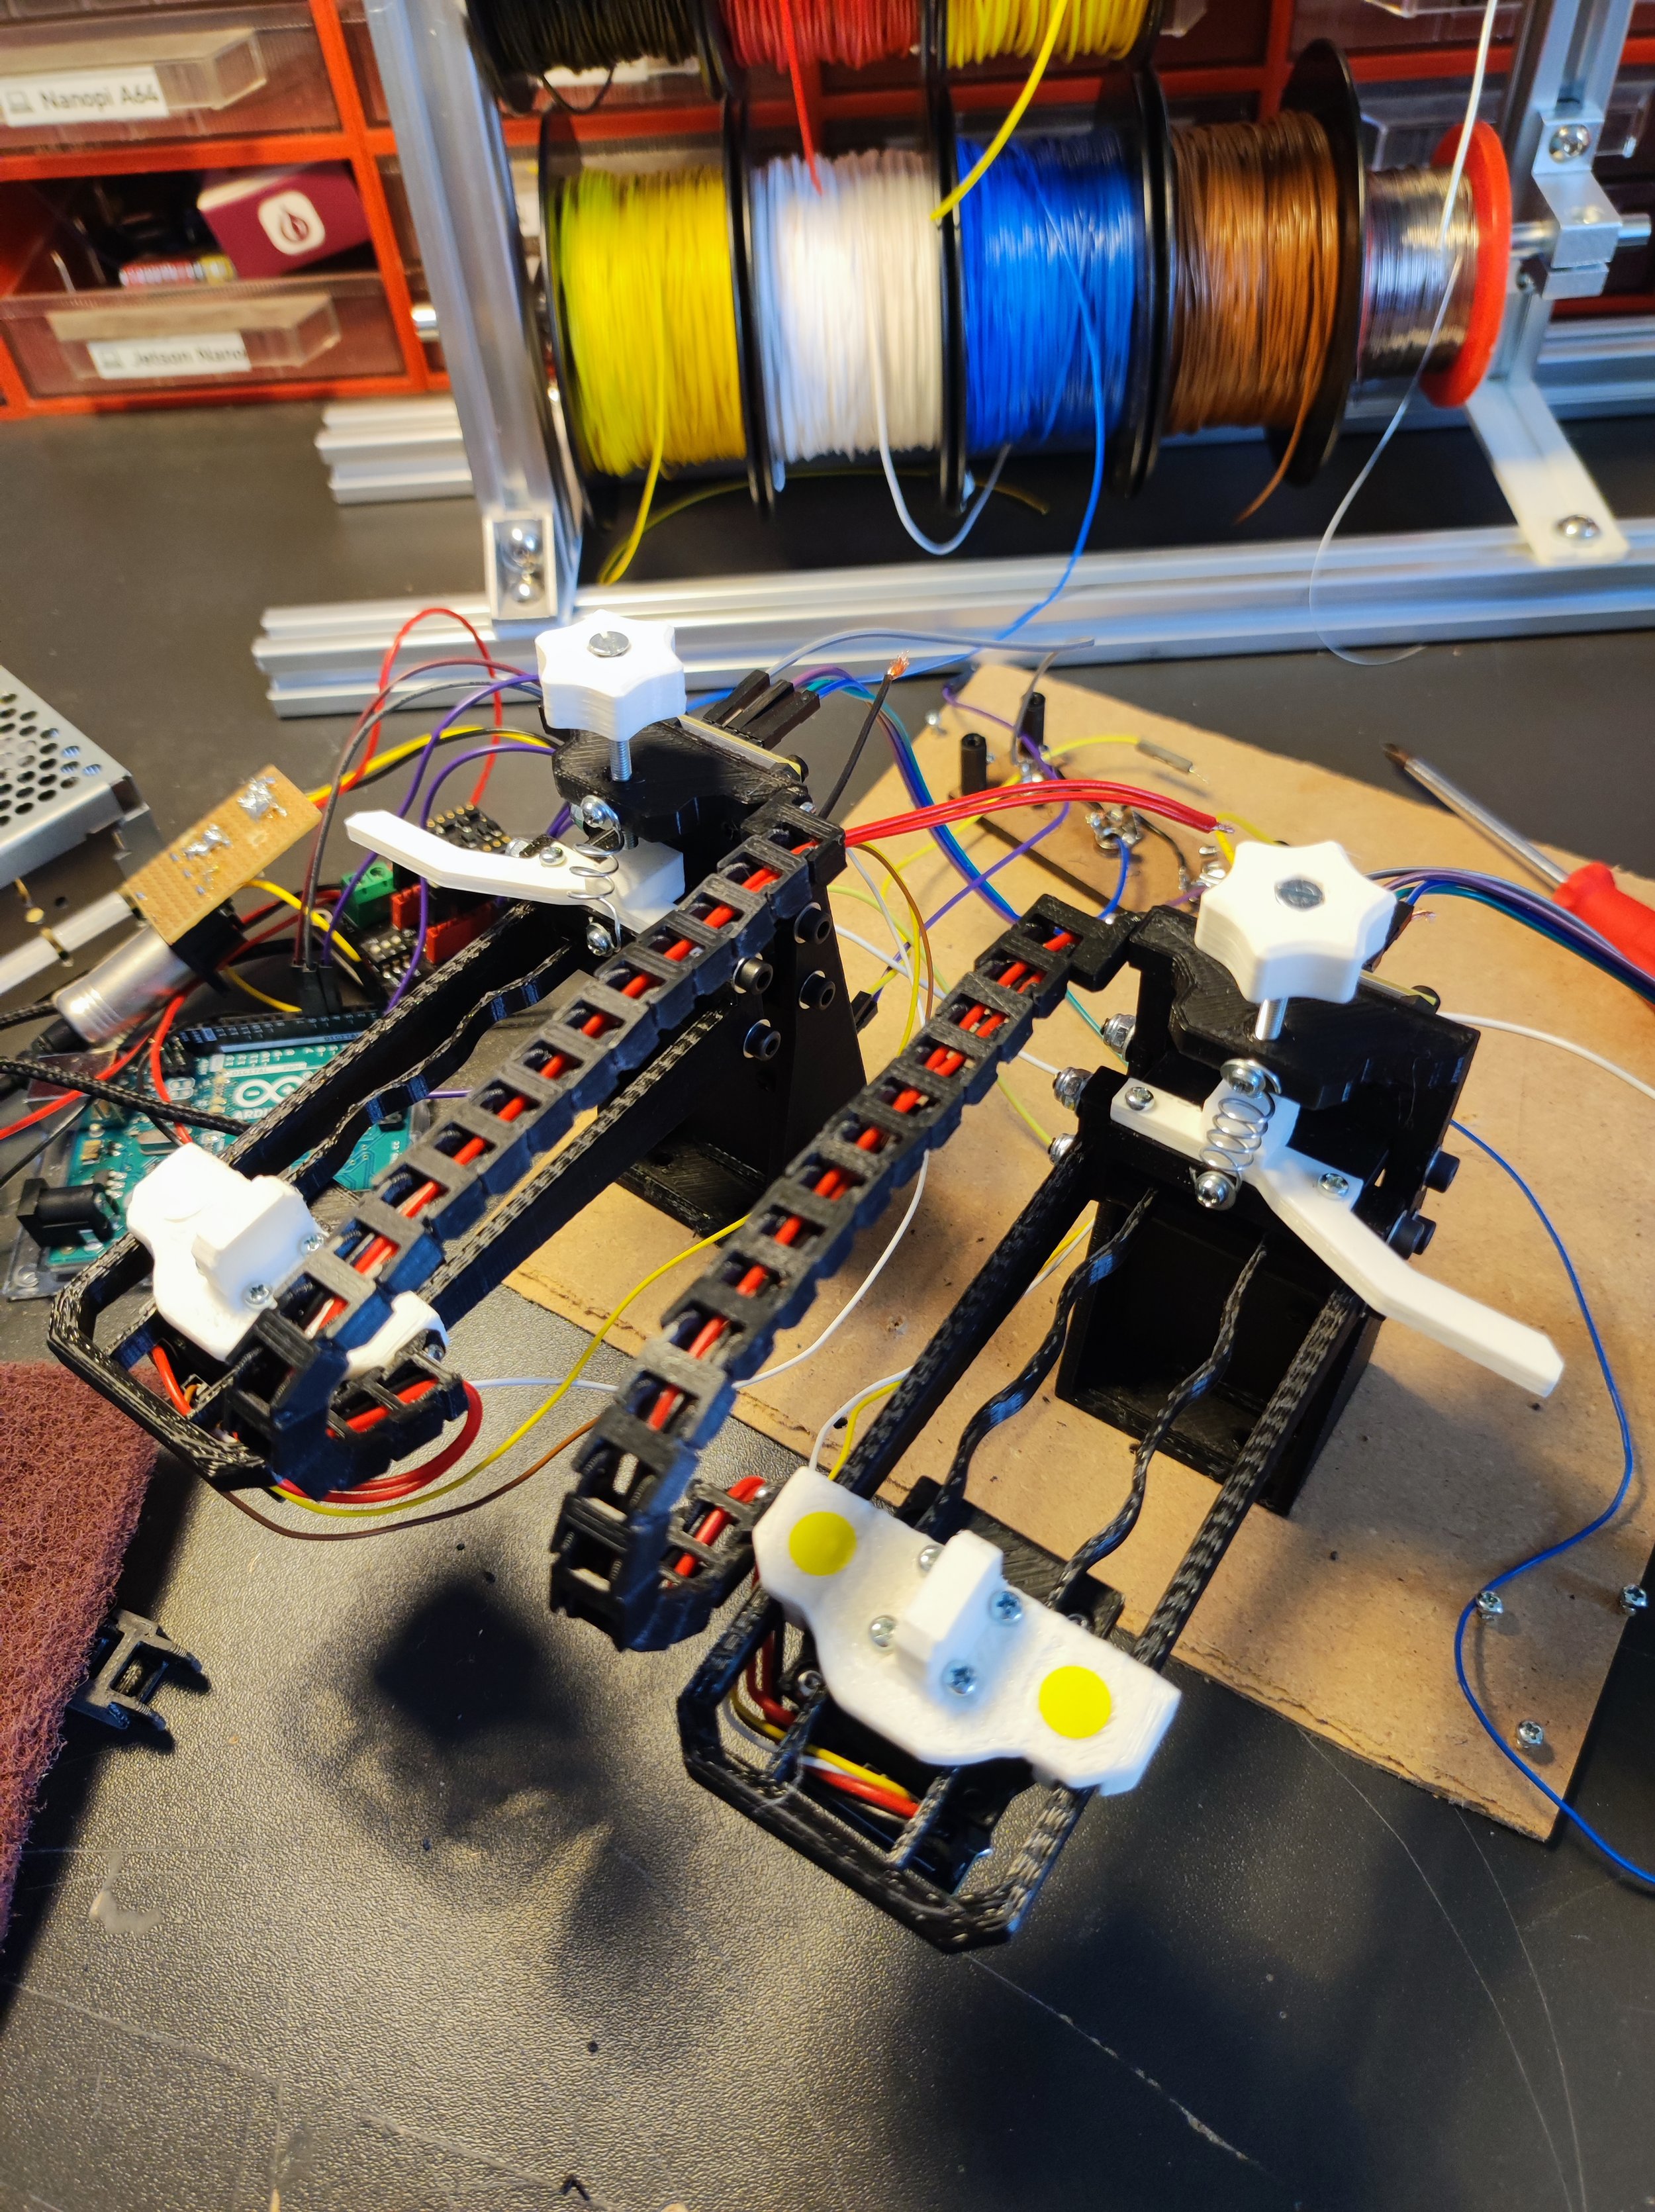
I also made a pair of sensors. The goal was to have two oscillators in phase reading the same RGB disc. I made the sensor movable so they could be aligned to read a specific band of color on the RGB disc, each band representing an octave.
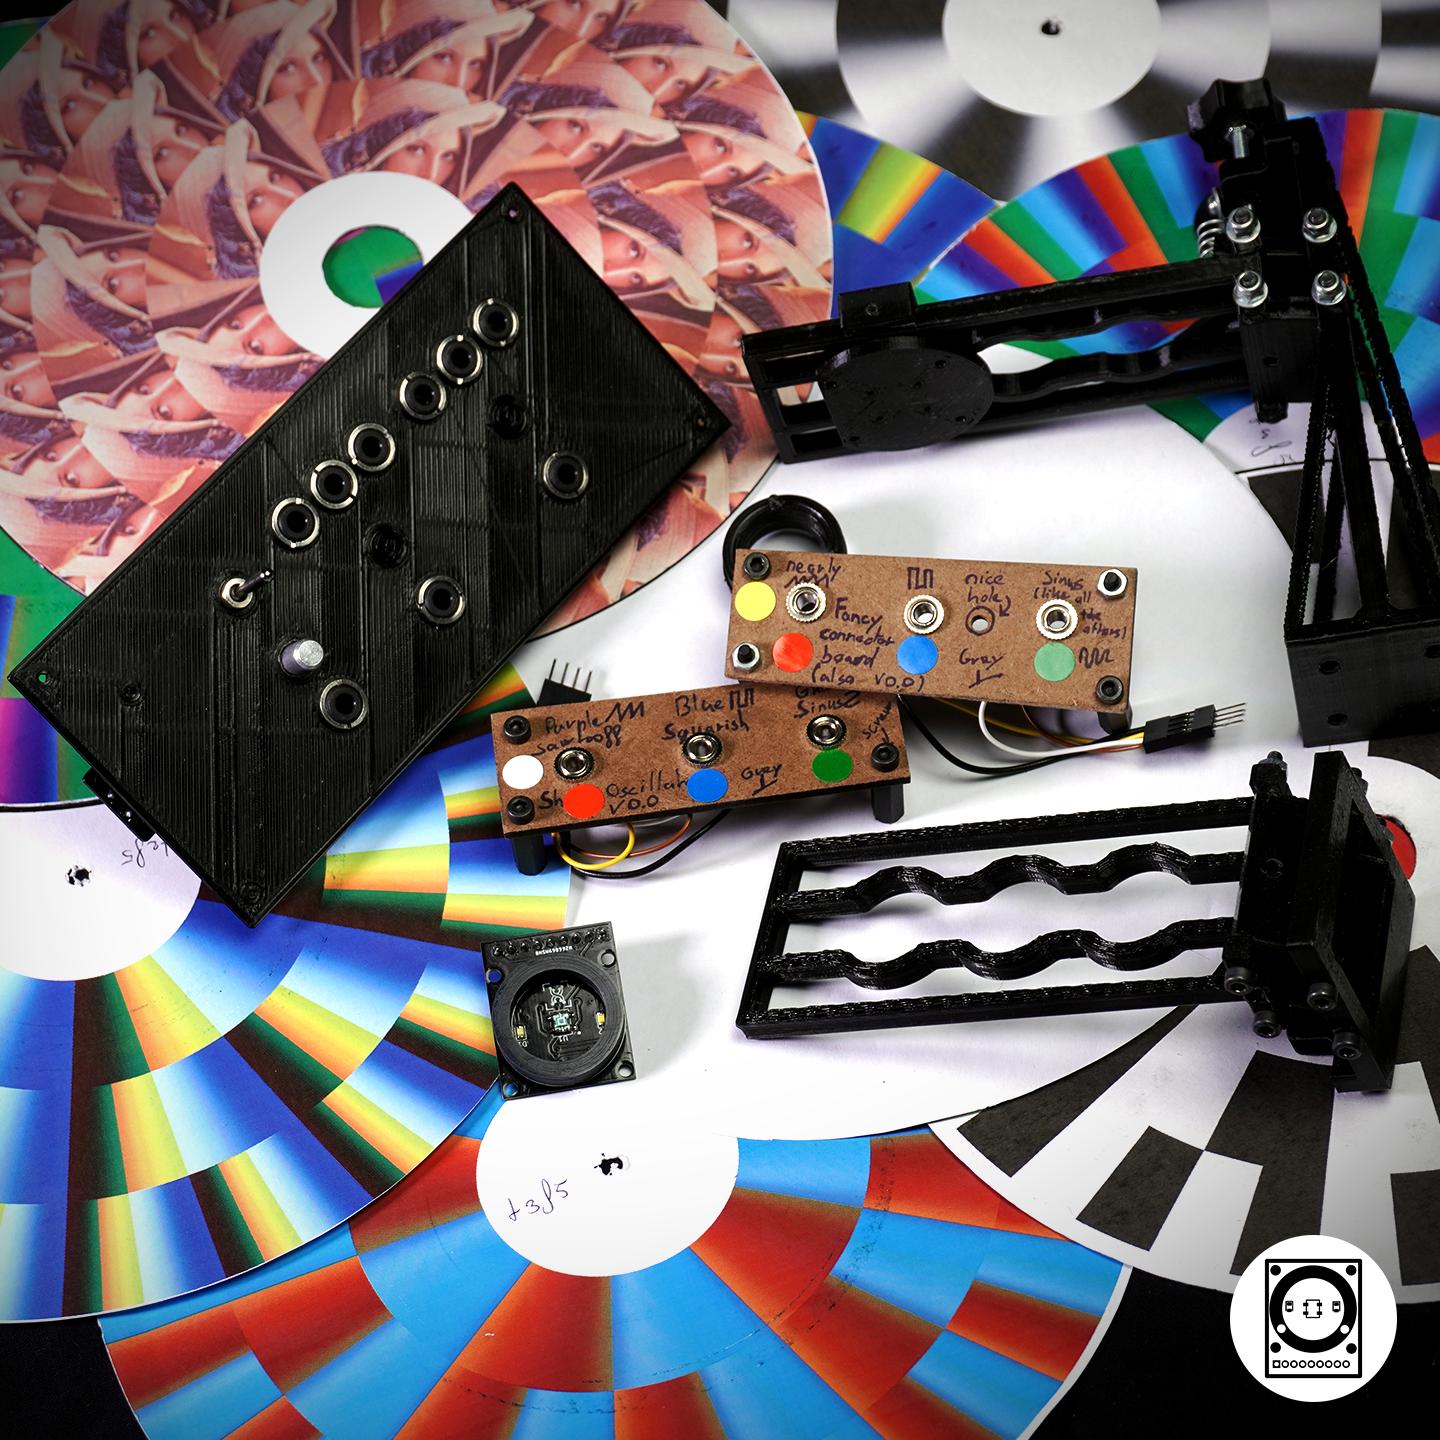


I finally made a new PCB to replace my prototype that was using a breadboard. I designed a fancy front panel also made with another PCB.
The PCB connects the Nano every to the MIDI connector and to the ST motor driver. The PCB also has a proper 3.5mm mono jack connector to output the analog signal. You can directly connect an audio cable to get either R G or B signal but I also added a selector so it’s possible to have an output where you switch between those three signals.
Finally, I added a Gate output signal. The motor is constantly turning so it was not really possible to add an envelope. I preferred to output a gate signal that can be wired to a modular synthesizer with ADSR and VCA or LPG.
I asked my dear friend Ivan, a cabinetmaker to help me to make the final product by machining the main support in wood and painting it in white to give a professional result that looks like a high-end turntable.
With some magnets, I made the RGB disc easily swappable. It’s quite hard to have a clean sinus, square, or triangle signal coded on the RGB disc so I went a bit experimental trying to put repeating pictures around the disc to create a unique oscillator’s shape and the result is really nice!